
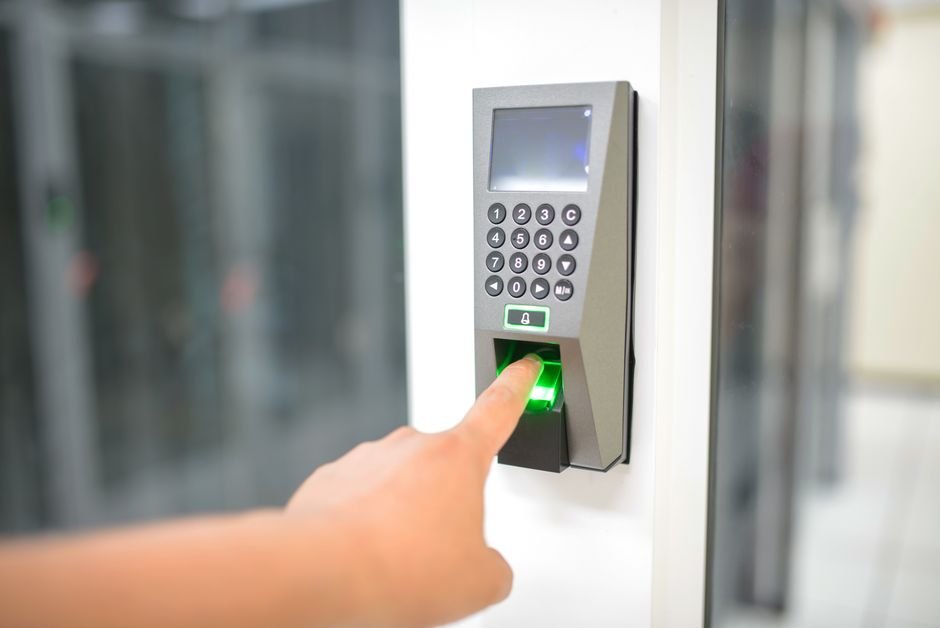
Implementing WordPress Passkey Authentication is the most effective strategy to safeguard your site against credential theft, automated brute-force attacks, and sophisticated phishing campaigns. Traditional password systems rely on shared secrets that can be intercepted, guessed, or leaked in data breaches. By adopting passwordless standards built on asymmetric cryptography, technical site owners can dramatically raise their security baseline while streamlining the user login experience. In this guide published by One Code Stream, we will walk through the exact mechanics and step-by-step implementation required to bring biometric and hardware token authentication to your site.
Passkeys represent a paradigm shift in identity verification across the web. Instead of typing a complex string of characters, users authorize authentication requests using device biometrics such as Touch ID, Face ID, Windows Hello, or physical security tokens like YubiKeys. Before diving into deployment, understanding how WordPress Passkey Authentication functions under the hood provides necessary context for managing user access and system maintenance.
Understanding How WordPress Passkey Authentication Works
When you activate WordPress Passkey Authentication, your site relies on the W3C WebAuthn Standards and FIDO2 protocols rather than storing hashed passwords in the wp_users database table. The architecture uses public-key cryptography to verify user identity without transmitting secret data over the network.
The cryptographic challenge and response process operates in three distinct phases during every authentication request:
- Key Pair Generation: During initial user registration, the client device generates a unique cryptographic key pair consisting of a private key and a public key. The private key remains locked within the hardware’s isolated Secure Enclave, Trusted Platform Module (TPM), or physical security key. The public key is sent to your WordPress database and stored alongside the user profile.
- Challenge Dispatch: When a user attempts to log in, the WordPress server generates a cryptographically random challenge string and sends it to the browser alongside the site’s Relying Party ID (domain name).
- Biometric Signing & Verification: The browser invokes the device’s WebAuthn API. Upon successful biometric or PIN verification, the client device uses the private key to sign the challenge and returns the signature to WordPress. The server verifies the signature using the stored public key. If the signature matches, the user session is granted.
Because the authentication protocol binds the cryptographic key pair strictly to your domain origin, phishing sites cannot trick users into authorizing access. Even if an attacker clones your login page entirely, the browser refuses to sign challenges originating from an unauthorized domain.
Comparing Authentication Methods for WordPress
Comparing modern security protocols reveals why WordPress Passkey Authentication outperforms traditional multi-factor methods in both friction and defensive resilience. The following matrix illustrates key operational differences across standard authentication methods:
| Security Metric | Traditional Passwords | TOTP / SMS 2FA | Passkeys (WebAuthn) |
|---|---|---|---|
| Phishing Protection | None | Low to Moderate | Complete (Hardware Bound) |
| Protection Against Credential Stuffing | Poor | High | Complete |
| User Friction | High (Complex Strings) | Moderate (Input Codes) | Low (Biometrics/PIN) |
| Database Breach Impact | Hashes Vulnerable | Secrets Exposed | Zero Impact (Public Key Only) |
| Cross-Device Synchronization | Manual (Password Manager) | Manual Transfer | Automatic via Cloud Keychains |
Essential Prerequisites for Implementation
Before deploying WordPress Passkey Authentication, ensure your hosting environment meets technical requirements. Because WebAuthn requires precise cryptographic operations and secure channels, your server stack must satisfy the following criteria:
- HTTPS/TLS Certificate: WebAuthn APIs are explicitly restricted to secure contexts. Your site must serve traffic over HTTPS with a valid SSL/TLS certificate. Local development environments require valid local certificates or
localhostcontexts. - PHP Extensions: Your server must run PHP 8.1 or higher with the
ext-openssl,ext-gmporext-bcmath, andext-sodiumextensions enabled to parse CBOR data structures and verify elliptic curve signatures (ED25519 and ES256). - Browser & Operating System Support: Modern browsers including Safari, Chrome, Edge, and Firefox support WebAuthn natively across iOS, macOS, Android, Windows, and Linux.
Step-by-Step Implementation of WordPress Passkey Authentication
The primary stage of deploying WordPress Passkey Authentication requires installing dedicated plugins or introducing WebAuthn libraries into custom builds. Below is the complete step-by-step walk-through to integrate passkeys seamlessly into your installation.
Step 1: Install a WebAuthn-Compliant Security Plugin
Navigate to your site dashboard and open the WordPress Plugin Directory interface. Search for standard WebAuthn implementations such as Passkeys for WordPress or WebAuthn Passwordless Login. Click Install Now and activate the plugin.
Step 2: Configure Relying Party Parameters
Access the global settings panel of your chosen authentication plugin. You must set the correct Relying Party (RP) parameters that define your origin context:
- Relying Party ID: Set this precisely to your root domain (e.g.,
example.com). Do not include subdomains unless you want passkeys restricted strictly to that host. - Relying Party Name: Set an authoritative name displayed to users when their OS prompts them to confirm identity (e.g., “One Code Stream Production”).
- User Verification Requirements: Set this to
RequiredorPreferredto ensure that device unlock mechanism (PIN, face scan, or fingerprint) is enforced.
Step 3: Enforce Role-Based Authentication Requirements
When implementing rollout strategies, administrators should stagger deployment by user role. Begin by enforcing passkeys for high-privilege accounts—such as administrator and editor roles—before rolling out passwordless access to subscribers or WooCommerce customers, ensuring that WordPress Passkey Authentication remains active across all administrative accounts.
Step 4: Register User Device Passkeys
Navigate to Users > Profile within the dashboard. Scroll down to the Passkeys / Security Keys section. Click Register New Passkey. The browser will invoke the native operating system prompt requesting Touch ID, Face ID, or your physical security key. Name the token clearly (e.g., “MacBook Pro Touch ID” or “YubiKey 5C”) and save the entry.
Step 5: Modify Login Flow Settings
Configure the plugin login form settings. Modern passkey plugins enable “Conditional UI” (also known as Autofill). This standard automatically offers registered passkeys within the username input field, allowing users to log in with a single tap without entering a username first.
Ready to Build, Fix, or Scale Your Website?
One Code Stream engineers high-speed, conversion-focused websites, custom web applications, and e-commerce solutions for global businesses. Let’s turn your vision into measurable digital growth.
Step 6: Configure Fallbacks for WordPress Passkey Authentication
To avoid lockout scenarios when users switch un-synced hardware devices, establish robust fallback mechanisms. Configure secondary recovery methods like standard password entry plus TOTP, or encrypted admin recovery codes stored offline. Developers can customize WordPress Passkey Authentication to gracefully degrade when biometrics are unavailable while maintaining strict transport security.
Step 7: Audit and Test Security Workflows
Open an Incognito or Private browser window and navigate to /wp-login.php. Confirm that the browser prompts for passkey authentication. Test authentication across multiple clients (e.g., an iPhone running Safari, a Windows machine running Chrome, and a hardware key) to verify seamless cross-platform validation.
Developer Integration: Handling WebAuthn Programmatically
Developers can customize WordPress Passkey Authentication using native WordPress hooks and custom PHP handling. When building headless systems or custom authentication flows, you can hook directly into the authenticate filter to process WebAuthn payloads.
Below is a production-grade snippet demonstrating how to intercept custom login flows and validate client WebAuthn challenge responses before establishing user sessions:
<?php
/**
 * Custom WebAuthn Authentication Hook for WordPress
 * Demonstrates basic request intercept and challenge verification scaffolding.
 */

add_filter( 'authenticate', 'ocs_verify_passkey_login', 20, 3 );

function ocs_verify_passkey_login( $user, $username, $password ) {
    // Check if the request contains WebAuthn response data
    if ( ! isset( $_POST['webauthn_auth_data'] ) || empty( $_POST['webauthn_auth_data'] ) ) {
        return $user; // Pass through to standard authentication if no passkey payload
    }

    $raw_payload = sanitize_text_field( $_POST['webauthn_auth_data'] );
    $decoded_data = json_decode( base64_decode( $raw_payload ), true );

    if ( ! $decoded_data || ! isset( $decoded_data['clientDataJSON'], $decoded_data['signature'] ) ) {
        return new WP_Error( 'invalid_passkey_payload', __( 'ERROR: Invalid passkey response data.', 'onecodestream' ) );
    }

    // Retrieve saved challenge from session or transient
    $stored_challenge = get_transient( 'ocs_webauthn_challenge_' . md5( $username ) );

    if ( ! $stored_challenge ) {
        return new WP_Error( 'challenge_expired', __( 'ERROR: Passkey challenge expired. Please refresh and try again.', 'onecodestream' ) );
    }

    // Validate origin and signature against user stored public key
    $user_obj = get_user_by( 'login', $username );
    if ( ! $user_obj ) {
        return new WP_Error( 'invalid_user', __( 'ERROR: Account not found.', 'onecodestream' ) );
    }

    $public_key = get_user_meta( $user_obj->ID, '_ocs_webauthn_public_key', true );

    // Cryptographic validation logic using OpenSSL or WebAuthn Library
    $is_valid = ocs_validate_webauthn_signature( $decoded_data, $stored_challenge, $public_key );

    if ( $is_valid ) {
        // Clear challenge transient and return validated user
        delete_transient( 'ocs_webauthn_challenge_' . md5( $username ) );
        return $user_obj;
    }

    return new WP_Error( 'passkey_failed', __( 'ERROR: Passkey verification failed.', 'onecodestream' ) );
}

function ocs_validate_webauthn_signature( $data, $challenge, $public_key ) {
    // Placeholder for underlying cryptographic OpenSSL verification logic
    // Production implementations leverage libraries like web-auth/webauthn-lib
    return true;
}
This code example highlights how developers hooks into core security workflows. By storing public keys inside user metadata and validating signed challenges against the stored key, customized environments maintain high security standards without depending on legacy password validation.

Troubleshooting Common Configuration Issues
Troubleshooting WordPress Passkey Authentication typically involves checking domain origins, server time synchronization, and cryptographic extension availability. Here are the most frequent runtime issues and their solutions:
1. Origin Mismatch Errors (DOMException / NotAllowedError)
If the user’s browser returns a NotAllowedError during authentication, the Relying Party ID configured in your settings does not match the actual origin domain in the browser address bar. Ensure that your canonical URL settings match precisely, including or excluding the www prefix consistently.
2. Missing PHP Extensions for CBOR Parsing
WebAuthn client data structures rely on Concise Binary Object Representation (CBOR). If your PHP environment lacks the GMP or BCMath extensions, signature verification will fail silently or throw fatal uncaught exceptions. Ensure your hosting provider has enabled these extensions in your php.ini configuration.
3. Sync Failures Across Password Managers
If users register a passkey on an enterprise desktop but cannot authenticate via mobile, ensure their passkey provider (such as Apple iCloud Keychain, Google Password Manager, 1Password, or Bitwarden) supports cloud sync across their operating systems. Hardware security keys (YubiKeys) do not sync across devices and must be registered individually per key.
Best Practices for Enterprise WordPress Deployments
To maximize system resilience when rolling out passkeys across high-traffic, multi-author platforms, follow these enterprise deployment guidelines:
- Require Multiple Passkey Registrations: Instruct users to register at least two distinct authenticators (e.g., a primary laptop Touch ID and a secondary mobile device or physical hardware key).
- Implement Audit Logging: Track passkey registration, deletion, and authentication events using plugins like WP Activity Log. Immediate alerts should trigger if an administrator’s account adds an unrecognized public key.
- Combine Passkeys with Reverse Proxy Firewalls: Place your site behind enterprise Web Application Firewalls (WAFs) like Cloudflare or Sucuri. While passkeys protect authentication logic, WAFs stop network-level DDoS attempts before they reach PHP worker processes.