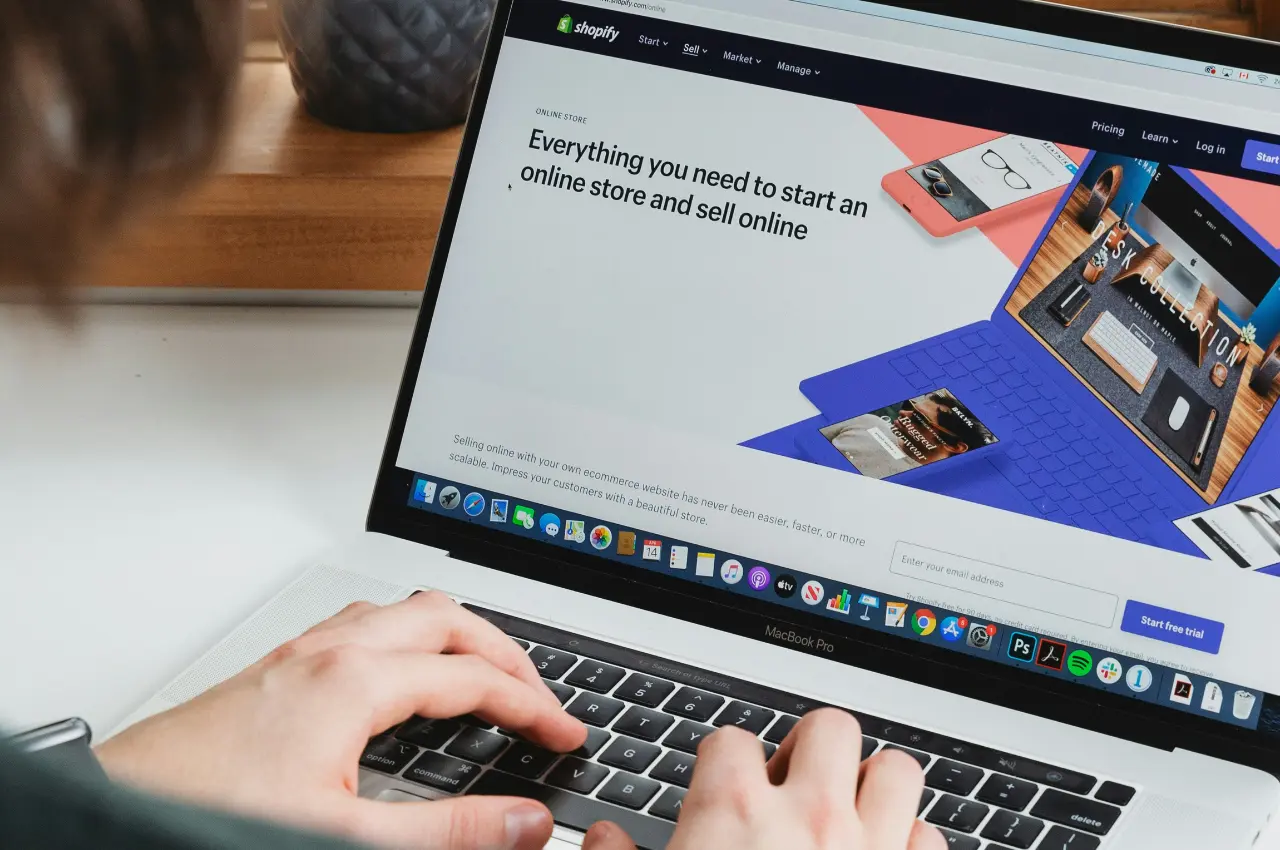

A successful e-commerce strategy relies heavily on accurate data, making seamless Shopify tracking integration essential for scaling online stores. Without precise telemetry connecting your store front to your marketing platforms, optimizing ad campaigns and understanding customer behavior becomes an exercise in guesswork. Configuring Google Analytics 4 (GA4) and the Meta (Facebook) Pixel correctly ensures that every ad dollar is accounted for.
Modern browser updates, strict privacy regulations, and cookie limitations have fundamentally altered web tracking. Relying solely on legacy client-side scripts leads to missed attribution, misallocated ad budgets, and understated conversion counts. By establishing a robust Shopify tracking integration, merchant engineering teams can bridge the gap between user actions on-site and backend analytics reporting.
In this technical guide, we will break down the exact steps required to integrate GA4 and Meta Pixel with Shopify. We will cover native integrations, custom sandbox deployments using Shopify Web Pixels API, server-side tracking, and troubleshooting protocols to guarantee 100% data integrity for your store.
Why Shopify Tracking Integration Matters for E-Commerce
At its core, a complete Shopify tracking integration bridges your customer store behavior with machine learning optimization algorithms on ad platforms like Meta Ads and Google Ads. When user signals are accurate, algorithmic targeting improves, return on ad spend (ROAS) increases, and customer acquisition costs (CAC) decline.
Here is what happens when your tracking infrastructure is misconfigured or incomplete:
- Attribution Loss: Up to 30% of customer purchases go unrecorded by ad networks due to iOS privacy measures and desktop ad blockers.
- Duplicate Reporting: Misconfigured scripts often fire multiple purchase events for a single checkout session, skewing revenue metrics.
- Funnel Blind Spots: Missing event parameters prevent you from analyzing where drop-offs occur during the add-to-cart or checkout phases.
- Poor Ad Retargeting: Incomplete event streams mean retargeting campaigns show ads to users who have already purchased the product.
To eliminate these bottlenecks, developers and site administrators should leverage modern API-first tracking patterns rather than injecting fragile inline scripts into theme files. For actionable tutorials on modern tech stacks, feel free to visit One Code Stream.

Modern Architecture: Shopify Web Pixels API vs Legacy Scripts
Historically, merchants added tracking pixels by pasting JavaScript snippets into the theme.liquid file or using the deprecated additional_scripts checkout field. Shopify has transitioned to a isolated, performant infrastructure known as the Web Pixels API.
The Web Pixels API executes custom and native pixels inside a secure Web Worker sandbox. This architecture guarantees that third-party scripts cannot block the main render thread, ensuring high performance while providing continuous access to customer event streams across the entire buyer journey.
“Sandboxing client-side pixels using Shopify Web Pixels API protects page load performance and prevents script corruption, ensuring strict data governance across all checkout touchpoints.”
Understanding this architecture is crucial when executing your Shopify tracking integration strategy. Client-side browser pixels must be coupled with server-side API calls to maintain absolute accuracy when users block third-party trackers.
Step-by-Step Execution: GA4 and Meta Pixel Setup
Let’s dive into the technical implementation steps to connect both tracking platforms to your Shopify backend accurately.
Step 1: Setting Up GA4 for Shopify Tracking Integration
Google Analytics 4 operates on an event-parameter framework rather than a traditional session-pageview model. Executing your Shopify tracking integration for GA4 can be accomplished via the official Google & YouTube app or through custom GTM Web Pixels.
Follow these steps to complete the standard integration:
- Log into your Shopify Admin panel and navigate to the Apps section.
- Install the official Google & YouTube sales channel app from the app store.
- Connect your primary Google Account associated with your Google Analytics 4 property.
- Locate your GA4 property ID (formatted as
G-XXXXXXXXXX) and link it to your Shopify channel. - Verify that Enhanced Ecommerce measurement events are enabled within your GA4 Data Stream settings.
Once linked, Shopify automatically emits structured e-commerce events (such as view_item, add_to_cart, begin_checkout, and purchase) straight to your GA4 property with matching currency and item parameters.
Step 2: Configuring Meta Pixel and Conversions API (CAPI)
To maximize Meta event matching quality, relying solely on client-side pixel events is insufficient. You must configure a hybrid setup that combines the browser-side Meta Pixel with the server-side Meta Conversions API (CAPI).
Refer to official documentation on the Meta for Developers CAPI Hub to understand deduplication rules. Within Shopify, implementing this is straightforward:
- Install the official Facebook & Instagram app in your Shopify admin.
- Navigate to Settings > Data Sharing Settings.
- Select the Maximum privacy data-sharing level. This enables Meta Conversions API (CAPI) alongside standard pixel tracking.
- Select your target Meta Business Manager, Ad Account, and Pixel ID.
- Save the settings to activate server-to-server data transmission.
By enabling the Maximum setting, Shopify dispatches direct server payloads from its backend to Meta servers concurrently with browser events. A shared event_id is automatically generated for every interaction, allowing Meta to deduplicate matching events instantly.
Step 3: Custom Web Pixel Implementation (Advanced Setup)
For custom headless setups or complex enterprise reporting, you may choose to deploy custom pixels via Shopify’s Customer Events setting. Navigating to Settings > Customer Events allows developers to write custom subscription routines for high-precision event capture.
Ready to Build, Fix, or Scale Your Website?
One Code Stream engineers high-speed, conversion-focused websites, custom web applications, and e-commerce solutions for global businesses. Let’s turn your vision into measurable digital growth.
// Custom Shopify Web Pixel for custom GA4 / FB logging
analytics.subscribe("product_viewed", (event) => {
  const customData = {
    currency: event.data.productVariant.price.currencyCode,
    value: event.data.productVariant.price.amount,
    items: [{
      item_id: event.data.productVariant.sku,
      item_name: event.data.productVariant.product.title,
      price: event.data.productVariant.price.amount
    }]
  };

  // Example: Direct payload push to data layer or analytics endpoint
  console.log("Tracked View Item Event:", customData);
});
Writing custom event logic within this API ensures your Shopify tracking integration remains lightweight, immune to layout changes, and compliant with Shopify checkout sandboxing standards.

Comparing Integration Methods for Shopify Tracking Integration
Choosing the right technical path depends on your internal team capabilities, catalog complexity, and advertising scale. Review the comparison breakdown below to decide which architecture fits your infrastructure:
| Feature / Metric | Native Shopify Apps | Google Tag Manager (GTM) | Custom Web Pixels API |
|---|---|---|---|
Implementing Google Consent Mode v2 and Data Compliance
Global privacy regulations like GDPR, CCPA, and ePrivacy Directive mandate strict user consent management. Completing your Shopify tracking integration without addressing privacy consent can result in restricted ad account capabilities—especially when advertising to users within the European Economic Area (EEA).
Google Consent Mode v2 introduces four essential consent states:
ad_storage: Enables storage (like cookies) related to advertising.analytics_storage: Enables storage related to analytics (e.g. visit duration).ad_user_data: Controls consent for sending user data to Google for advertising purposes.ad_personalization: Controls consent for targeted retargeting ads.
Integrating a Consent Management Platform (CMP) such as Usercentrics, OneTrust, or Pandectes directly with your Shopify store automatically maps customer consent choices to your GA4 and Meta Pixel tracking signals, ensuring full legal compliance without stopping overall telemetry data capture.
Debugging and Verifying Data Accuracy
Once your configuration is live, auditing your Shopify tracking integration is vital to confirm that events are firing without duplication or parameter loss. Never assume an integration is working without inspecting live network traffic.
1. Verifying GA4 using DebugView
To audit Google Analytics 4 in real-time, install the official Google Analytics Debugger extension for Chrome. Once activated, open your shop in a new tab, navigate through a purchase funnel, and inspect the incoming telemetry within GA4 Admin > DebugView.
Check that key parameters such as transaction_id, value, currency, and items array populate accurately. For detailed developer guidelines on analytics configuration, check out the resources on the Shopify Help Center.
2. Validating Meta Pixel & CAPI with Payload Inspection
To inspect Meta Pixel activity, use the Meta Pixel Helper browser extension alongside the official Events Manager dashboard inside Meta Business Suite.
- Event Match Quality (EMQ): Aim for an EMQ score above 7.0/10. High scores indicate high-fidelity user parameters (e.g., hashed email, phone number, city) sent via CAPI.
- Deduplication Status: Ensure that incoming events show a status of “Browser / Server (Deduplicated)”. If both events fire without deduplicating, purchase metrics will double count.
Best Practices to Maintain Shopify Tracking Integration
A web tracking setup is not a “set-and-forget” project. App updates, theme changes, and privacy tweaks can silently disrupt event collection. Follow these operational best practices to preserve data fidelity over time:
First, audit your revenue reporting monthly. Compare your native Shopify Analytics order revenue against GA4 recorded revenue and Meta reported purchase conversions. A healthy variance should remain below 5% to 8% overall. If the gap widens, inspect ad blockers, consent drop-offs, or broken checkout scripts.
Second, refrain from mixing inline JavaScript tracking tags inside theme.liquid with native Shopify apps. Duplicate setups cause event collision, slow down client devices, and severely degrade page speed performance scores.
Finally, routinely monitor consent management compliance. As global privacy laws evolve, ensure your consent triggers continue to pass explicit signals to ad networks before initializing tracking payloads.
Final Thoughts on Shopify Tracking Integration
Establishing a flawless Shopify tracking integration is the foundation of modern e-commerce engineering and performance marketing. By implementing sandboxed client-side tracking via the Web Pixels API alongside robust server-side APIs, merchants can achieve maximum conversion visibility while protecting store load speed.
Whether you choose native Shopify sales channel apps or deploy customized Web Pixel scripts, keeping your analytics pipeline clean, deduplicated, and fully compliant gives your business the data foundation needed to scale efficiently.